

If I were hiring a fence contractor today, I’d check five things first: license, insurance, permit rules, bid details, and contract terms. That short list can help me avoid the most common problems: surprise costs, permit issues, property line disputes, and poor communication.
For Bay Area fence work, the first filter is simple. In California, a contractor license is required when labor and materials total more than $500. For fencing, I’d look for a C-13 Fencing Contractor license, current insurance, workers’ comp status, and the required $15,000 bond. After that, I’d make sure the contractor knows local fence height rules, who will pull permits, and how the property line will be checked before digging starts.
Here’s the short version of what I’d review before signing:
- License status: Active California C-13 license
- Coverage: Liability insurance, workers’ comp, and bond
- Local rules: Fence height, placement, permits, inspections
- Site issues: Slope, drainage, layout, and property boundaries
- Written bids: At least 3 estimates with materials, gates, demo, haul-away, and cleanup
- Timeline: Start window and number of workdays
- Contract terms: Warranty, payment schedule, and written change orders
A low bid is not always the best bid. If one quote is far below the others, something may be left out. I’d choose the contractor who gives clear answers, puts details in writing, and makes the contract match the estimate line for line.
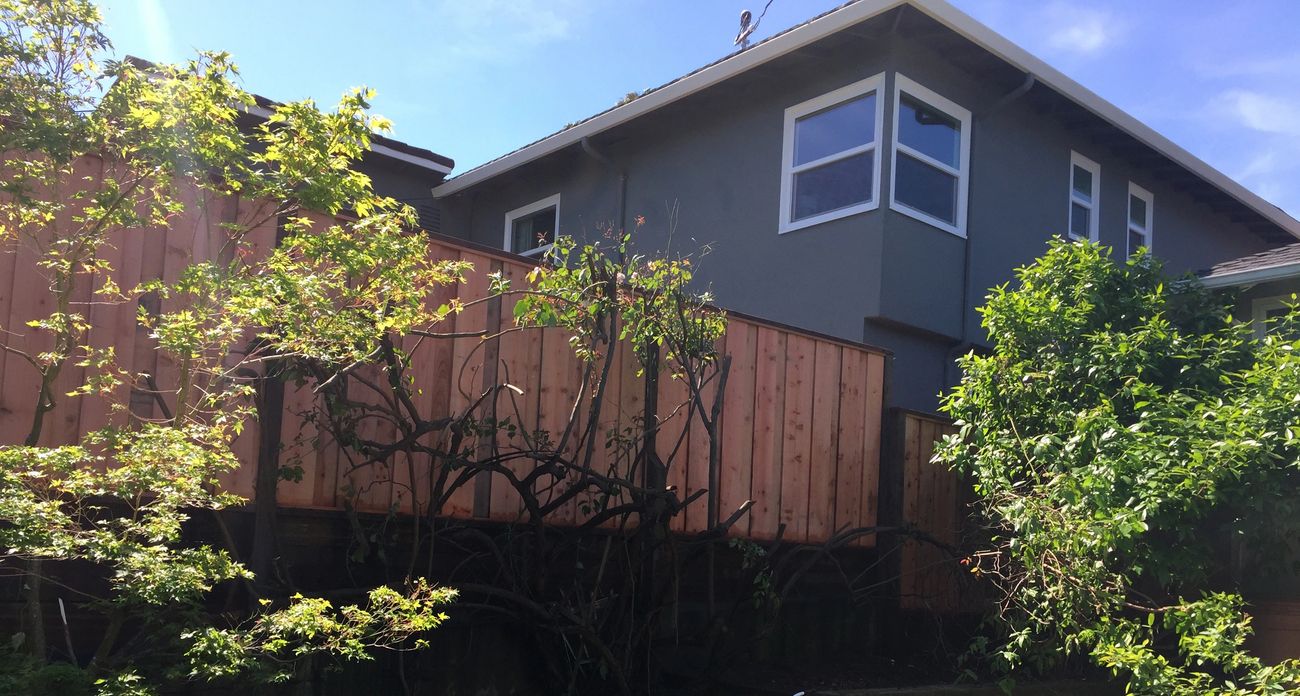
Verify license, insurance, and basic qualifications first
Start with licensing and coverage. Then look at local experience.
Confirm an active California fencing contractor license
California requires a contractor license for fence jobs over $500. For fence work, you should look for the C-13 Fencing Contractor classification.
That matters because a C-13 license shows the contractor has passed the state exam and met the state's experience requirements. It's the basic filter. If a contractor can't clear that bar, it's time to move on.
Check the license yourself on cslb.ca.gov using the contractor's license number. Make sure the status shows Active or Clear and that the expiration date is current.
Check insurance, bond, and workers' compensation coverage
Next, ask for current liability and workers' comp certificates. Also confirm the required $15,000 bond.
If workers' comp is listed as Exempt, that means the contractor has no employees. That's not always a problem, but you should know what it means before anyone starts work on your property.
Look for Bay Area experience with residential and commercial fence projects
Local experience counts in the Bay Area. Tight property lines, sloped lots, and neighborhood design standards can all shape how a fence gets built.
A contractor who knows the area is less likely to get tripped up by layout issues, permit rules, or property-line concerns. That kind of on-the-ground know-how can save a lot of back-and-forth once the project starts.
Check local permit and property line rules before work starts
Once you’ve confirmed the contractor is licensed and insured, make sure the project also lines up with local permit and property line rules.
A C-13 license does not replace a local building permit if your project requires one.
Review city rules for fence height and placement
Fence height limits depend on where the fence sits on the property. Front yard rules can differ from side or backyard rules, and those limits vary across Bay Area cities. That’s why it’s smart to check with your local building department before any work starts.
A good contractor should explain permit needs early, not halfway through the job. They should also spell out who’s handling each part of the process.
Confirm who handles permits and property line checks
Be direct here. Ask who will:
- pull the permit
- schedule inspections
- confirm the fence layout with the city
Then get those duties in writing.
Before installation begins, confirm the property boundary so you don’t end up dealing with disputes, delays, or having to redo part of the job. An in-person estimate gives the contractor a chance to review the layout and look at site conditions up close.
After permits and property lines are sorted out, review the estimate for scope, materials, and timeline.
Review the estimate for scope, materials, and timeline
With permits and property lines settled, the estimate should now show exactly what you're paying for. Get at least three written bids. A very low bid often means something was left out.
Check line items for materials, gates, site prep, and cleanup
A vague estimate like "metal fencing" isn't enough. A good estimate spells out the exact material, dimensions, gate count, hardware, demolition, haul-away, and cleanup. That level of detail helps cut down surprise charges later.
Here’s what separates a complete estimate from a vague one:
| Estimate Item | Complete Estimate | Vague or Missing |
|---|---|---|
| Materials | Specific material type and hardware specs | "Standard wood" or "Metal fencing" |
| Dimensions | Exact height and linear footage | "Standard height" or no dimensions listed |
| Gates | Number of gates, dimensions, and hardware included | "Gates as needed" or no hardware listed |
| Site Prep | Demolition of old fence and haul-away fees included | No mention of existing fence removal |
| Permit fees included or excluded | Specific permit fees listed with clear inclusion or exclusion | No mention of permit costs |
| Cleanup | Explicitly includes site cleanup and debris removal | Not mentioned |
Compare schedule, labor, and permit responsibilities
Materials are only part of the picture. The estimate should also give a realistic start-date range and the estimated number of working days needed to finish the job. Phrases like "weather permitting" with no time frame are a red flag.
Permit fees vary by city, so check whether those fees are included and who handles filing and inspection scheduling. It also helps to see clear wording on substitutions and excluded work. If that language is fuzzy, costs can creep up once the job starts.
After the estimate checks out, the next thing to look at is workmanship, communication, and contract terms.
Check workmanship, communication, and contract terms before signing
Once the estimate looks good, don’t rush to sign. This is the point where you make sure the contractor’s work quality and contract terms can back up what they promised.
At this stage, look past the price and focus on how the contractor works. You want to see how they document the job, how they communicate, and how they deal with changes once work is underway.
Review past work, responsiveness, and installation explanations
Ask for recent local project photos. Those photos can tell you a lot about the quality of the finished work and whether the contractor has handled jobs like yours before.
You should also ask for plain-English explanations of key installation details, such as:
- How deep the posts are set
- How drainage is handled near the fence line
- How they deal with slopes or uneven ground
Their answers matter. A contractor who replies on time, explains technical points clearly, and is willing to put those details in writing is showing you what working with them will be like after the job starts.
Written progress updates and milestone invoices are also good signs. They usually point to a contractor with a more organized process, not someone making it up as they go.
Confirm warranty, payment schedule, and change order terms
The contract should lock down the scope, warranty, payment schedule, and change-order process. It should also match the estimate exactly. If the estimate says one thing and the contract says another, that’s a problem.
Make sure the warranty spells out the length, what it covers, and what it does not cover. And if the contractor promised something during the sales process, get it in writing before you sign.
| Contract Item | Clearly Written (Reliable) | Often Vague (Red Flag) |
|---|---|---|
| Materials | Specific material type, post thickness, and hardware finish | Generic terms like "wood" or "standard fencing" |
| Measurements | Exact linear footage and specific height | "Perimeter of backyard" without dimensions |
| Warranty | Length, covered defects, and exclusions stated clearly | No warranty mentioned or vague "satisfaction guarantee" |
| Payment Schedule | Defined deposit amount and milestone-based progress payments | "50% upfront" or "pay as we go" |
| Cleanup | Detailed obligation to remove all debris, old fencing, and concrete spoils | No mention of site restoration or debris removal |
| Change Orders | All changes documented in writing and signed by both parties | Verbal agreements for "extra work" or "minor changes" |
Written change-order rules matter a lot. Even small add-ons can snowball into surprise charges if there’s no paper trail. A deposit followed by milestone-based progress payments is usually a safer setup than paying large amounts upfront.
Conclusion: A simple checklist to make the final choice
After you check the basics, use this short list to make the call: an active license, current insurance and bond, local permit know-how, clear bids, and a written contract.
Once the paperwork is in order, look closely at what each bid actually covers. Don’t pick the lowest number by default. If one price comes in far below the rest, that often means something is missing from the scope.
A good estimate should spell out the materials, post depth, gate hardware, demolition, debris removal, and cleanup. If the wording feels vague, treat that as a red flag. And if a contractor offers a long warranty, it should line up with their track record.
Go with the contractor who explains the job in plain English, puts every promise in writing, and makes sure the contract matches the estimate. In this case, reliability comes down to clear answers, complete paperwork, and no surprises. If a contractor checks every box above, you’re looking at a dependable choice.
FAQs
Do I need a permit for my fence project?
In California, fence permit rules depend on your city or county and on the fence itself, especially its height and location.
There isn’t one confirmed statewide rule that tells you exactly when a fence permit is required in every case. That means the answer can change from one local area to the next.
One thing is clear: fence contractors should be properly licensed through the California Contractors State License Board under the C-13 fencing classification.
How can I verify a contractor’s license and insurance?
Check the contractor’s California license in the CSLB license lookup using their CSLB license number. This lets you confirm the license status and review the license details before you move forward.
For insurance, ask for proof of current workers’ compensation and liability coverage. You should also confirm that the contractor has a surety bond on file, which may appear in CSLB records.
What should a fence estimate include?
A professional fence estimate should spell out exactly what the job covers: the scope of work, the materials being used, and the labor needed to get it done.
It should also show all material and labor costs up front, so you don’t get hit with surprise charges once construction starts.
Just as important, the estimate should make clear what’s included in the work. That way, you’re not lining up quotes that look similar on the surface but cover different services, materials, or specs.
In California, any fencing project with labor and materials totaling more than $500 requires an active state license.