
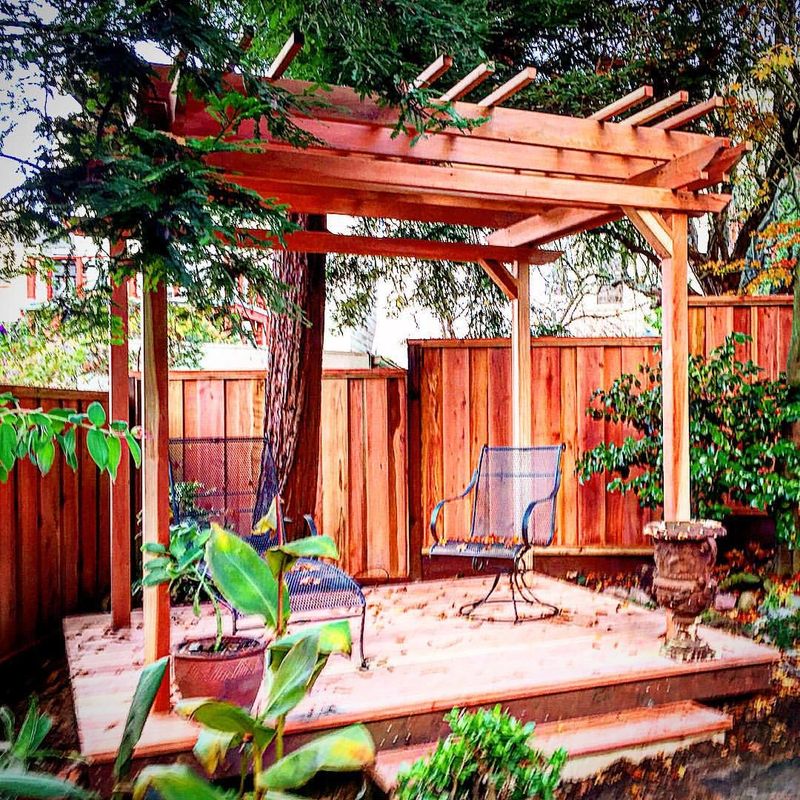
If I were planning a deck in South San Francisco, I’d look at the site, drainage, permits, and material heat first. That’s because fog, salt air, slope, and sun can change how long a deck lasts, how much it costs, and whether it passes inspection.
Here’s the short version:
- Moisture matters: fog and wet-dry cycles can speed up rot, rust, and surface wear.
- Slope changes the build: hilly yards may need deeper footings, more support, and better drainage.
- Permits often apply: decks attached to the house and decks over 18 inches high usually need permits.
- Ledger connections need care: ledger-board failure is tied to about 50% of deck collapses.
- Material choice affects upkeep and comfort: pressure-treated wood may last about 15 years, redwood about 20 to 25 years, and capped composite about 25 to 30+ years.
- Heat is a big deal: dark composite boards in full sun can hit 140°F to 160°F, while lighter colors may stay 20°F to 30°F cooler.
- Budget should cover more than decking: a 300-square-foot deck often lands around $7,500 to $21,000, plus site work, drainage, and a 10% to 15% backup fund.
If I had to sum it up in one line, it would be this: a good deck plan starts with the yard, not the boards. Once I know how water moves, how the deck connects to the house, and what the city requires, the rest gets much easier to sort out.
Quick Comparison
| Topic | What I’d watch for | Key numbers |
|---|---|---|
| Site | Slope, runoff, low spots, wind, sun | Posts may need 24 to 30 inches deep footings or more |
| Safety | House connection, rails, stairs, lighting | Ledger failures linked to ~50% of collapses |
| Materials | Heat, upkeep, service life | PT wood ~15 years; redwood 20–25 years; composite 25–30+ years |
| Cost | Decking, labor, drainage, design | $25–$70/sq. ft. installed |
| Permits | Height, attachment, inspections | Permit often needed if attached or over 18 inches high |
So before building, I’d make four checks: site fit, material tradeoffs, code triggers, and long-term upkeep.
Start by Evaluating Your Site and Local Conditions
Before you lock in deck size or pick materials, walk the property carefully. On South San Francisco lots, the site often makes a lot of the big choices for you. Slope, drainage, and sun exposure can all shape the deck footprint.
How Moisture, Wind, Sun, and Drainage Affect Deck Placement
South San Francisco's fog belt creates a daily wet-dry cycle that speeds rot in unprotected wood, holds moisture on composite surfaces, and corrodes standard hardware. That means placement isn't just about looks. It also affects how long the deck lasts.
Use hot-dip galvanized or stainless steel hardware to better resist coastal fog and salt air. Those site conditions should guide both where the deck goes and what it's made from.
Sun exposure matters too. South- and west-facing decks get stronger UV exposure, and dark composite boards can reach 140°F to 160°F in full sun, while lighter colors run 20°F to 30°F cooler. On a hot day, that difference can be hard to ignore.
Wind is another factor. It can add lateral stress, so posts may need to be set 24 to 30 inches deep or deeper in concrete footings.
Before setting footings, map runoff, downspouts, and low spots. Proper drainage is critical to prevent standing water that can shorten the life of the structure.
Check Access, Slope, and House Connections
Hilly lots often need more than a simple platform deck. Multi-level layouts, deeper footings, and added foundation engineering are common, especially with expansive clay soil.
If you're planning an attached deck, inspect the house's rim joist and siding before finalizing the design. Ledger-board failures cause about 50% of deck collapses, usually from moisture intrusion or poor fastening. If the rim joist shows rot or previous patching, a freestanding deck may be the safer option.
It also helps to check the practical stuff early:
- Door thresholds
- Stair landing areas
- Side yard access
- Utility meters, vents, and other obstructions
- Property lines
Narrow side yards can complicate delivery and raise labor costs. A simple way to test the layout is to mark the deck corners with stakes and string. That gives you a quick read on fit, access, and problem spots before the footprint is finalized.
Once the site is mapped, match the layout to how the deck will be used.
Plan the Deck Layout Around How You Will Use It
Once the site is mapped, the next step is to shape the deck around how you'll actually use it and the limits of the lot. A deck meant for outdoor dining won’t need the same layout as one built for lounging, hosting friends, or moving between the house and yard. That day-to-day use should guide the footprint, traffic paths, and the features you include.
Choose a Size and Shape That Fit Traffic Flow
A simple rectangular deck is often the lower-cost option, but many yards need a shape that bends a little to fit the site. A clipped corner or a shifted landing, for example, can help the deck work around setbacks and other site limits. On steeper lots, a multi-level layout can follow the slope and split up uses, such as dining on one level and lounging on another.
Before you lock in the dimensions, sketch in furniture and walking paths. It sounds basic, but this is where people catch problems early, like a grill crowding a stair run or chairs blocking movement around a table. Those small planning moves can save a lot of frustration later.
Work out clearances for:
- Dining areas
- Grills
- Stairs
- Seating and other furniture
Do that before framing starts.
Add Features That Address Privacy, Seating, and Safety
On tighter lots, privacy can make or break the space. A 6-foot privacy screen or built-in planters along the edge can block neighbor sightlines. Pergolas with climbing plants can also make the deck feel more tucked away.
Some features do double duty. Built-in benches save floor space. Cable railings help keep views open. Privacy screens reduce sightlines. Pergolas add shade. LED stair lights can make steps easier to use after dark. If you're planning cable railings, California requires a minimum railing height of 36 inches, with baluster spacing tight enough to block a 4-inch sphere.
Compare Materials, Maintenance, and Long-Term Cost
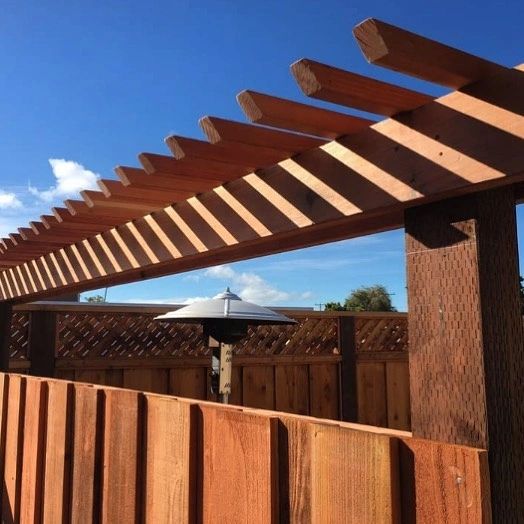
With the site and layout locked in, the next step is picking materials that can handle South San Francisco's mix of moisture, sun, and day-to-day wear. That alone rules out a lot of weaker options. The best picks are the ones that hold up well, stay comfortable underfoot, and don't turn into a constant maintenance job.
Pressure-Treated Wood, Redwood, and Composite Decking
Pressure-treated wood works best for framing rather than the deck surface itself. As a walking surface, it tends to wear out sooner, with a service life of about 15 years.
Redwood is a common choice in this part of California for good reason. Its natural tannins help it resist rot and insects, and it is naturally more fire-resistant than many common woods. That matters if the home is in or near WUI zones. If you go with redwood, the grade matters a lot. Heartwood grades such as Con-heart or Clear heart hold up better, while sapwood is less durable in coastal moisture. Plan to reseal it every two to three years.
Capped composite needs the least upkeep. In most cases, you're looking at little more than an occasional soap-and-water wash. The catch is heat. Dark composite boards in full California sun can reach 140°F to 160°F, while lighter tan or gray boards may stay 20°F to 30°F cooler in the same conditions. On a hot afternoon, that difference can be the line between comfortable and foot-scorching.
| Material | Maintenance | Longevity | Upfront Cost | Visual Style |
|---|---|---|---|---|
| Pressure-Treated Wood | High (annual cleaning and sealing) | ~15 years | $ | Basic, utility look; prone to cracks |
| Redwood (Heartwood) | Moderate (seal every 2–3 years) | 20–25 years | $ | Natural, rich red-brown; classic grain |
| Capped Composite | Low (occasional wash) | 25–30+ years | $ | Modern; wide color and texture range |
Use Finishes and Hardware Suited to Coastal Conditions
In South San Francisco, coastal moisture and salt air can be rough on a deck. That makes finishes and fasteners more than small details.
For natural wood, a penetrating oil finish such as Messmer's helps guard against UV and moisture without forming a surface film that can crack or peel. For composite boards, seal cut ends during installation to help block moisture intrusion.
Fasteners matter too. Use galvanized hardware for general coastal exposure. If you want stronger rust protection and less risk of staining near the coast, or if you're working with denser hardwoods, stainless steel screws are the better pick. Spacing between boards also plays a part. If the gaps are too tight, moisture gets trapped, and that can lead to mold.
Those calls on decking, finishes, and hardware will also affect the budget and how the permit side of the project plays out.
Budget, Permits, Safety Details, and Final Planning Steps
Build a Realistic Project Budget from Start to Finish
Once the layout and materials are locked in, it’s time to price the whole job - not just the deck boards. Materials and labor take up most of the budget, but site work is often where costs start to creep up. Demolition can run $200 to $1,000+, grading and excavation $500 to $3,000+, and drainage fixes $1,000 to $4,000+, depending on how the site handles water. If the project needs design help or a more involved build team, professional design and construction services can add $1,500 to $7,000+.
For the deck itself, installed costs in South San Francisco usually fall into these ranges:
- Pressure-treated wood: $25 to $40 per sq. ft.
- Redwood or cedar: $35 to $55 per sq. ft.
- Capped composite: $45 to $70 per sq. ft.
That puts a standard 300-square-foot deck at about $7,500 to $21,000, based on the material choice and overall scope. Built-in seating, planters, storage, and lighting can push that number up fast.
It also helps to leave some breathing room in the budget. A 10% to 15% contingency can cover surprises like soil problems or code-related changes that show up during planning or inspection. And the spending doesn’t stop after construction. Annual upkeep usually runs $1.50 to $4.00 per sq. ft. - less for composite, more for natural wood.
Review Local Permit and Code Requirements Before Construction
After the budget is set, check city rules before any work starts. In South San Francisco, permits are required for any deck attached to the house and any deck over 18 inches high. On steeper lots, and in an area with seismic rules, this step matters early.
Permit applications often need site plans, elevations, framing details, footing specs, setbacks, guardrails, and stair details. Inspections usually happen at three points: footings before concrete is poured, framing before it’s covered, and a final walkthrough after the build is finished. Permitting can add several weeks before construction even begins, so that delay needs to be part of the schedule from day one.
Bay Area seismic rules add more to the checklist. Decks in this region need reinforced supports, metal anchors, and solid connections back to the house structure. And if the property is in or near a Wildland-Urban Interface (WUI) zone, ignition-resistant or non-combustible materials may be legally required, not just a nice upgrade.
Conclusion: Site Fit, Material Tradeoffs, Code Compliance, and Upkeep
Once the budget and permit side are sorted out, the last choices should be about how the deck will hold up over time. The biggest deck decisions happen before framing starts. Start with site fit, budget for the full build, confirm permit triggers, and pick materials that make sense for South San Francisco’s climate.
FAQs
Do I need a permit for my deck?
In South San Francisco, most deck projects need a building permit so they meet structural and safety codes. In most cases, you’ll need one if the deck is attached to your house or sits more than 18 inches off the ground.
The exact rules can change based on the site, the deck’s size, and where it’s placed on the property, so it’s smart to check local requirements early. If you build without the permit you need, you could run into liability concerns, fines, and trouble when it’s time to sell your home.
Which deck material lasts longest here?
In South San Francisco, aluminum tends to last the longest. It stands up well to mold, wet weather, and insects.
If you want a more common material, cellular PVC vinyl is one of the best long-term picks. It can last a lifetime and usually needs very little upkeep.
Other long-lasting options include:
- Dense tropical hardwoods like Ipe, which can last 25 to 40 years
- High-quality capped composite, which often lasts 25+ years
- Redwood and cedar, which usually last 20 to 25 years with regular maintenance
How can I keep a deck cooler in full sun?
Choose the right material first. Natural wood, such as redwood, often feels cooler underfoot than composite.
If you go with composite, color matters a lot. Lighter shades like tan or gray can stay 20 to 30 degrees Fahrenheit cooler than dark boards.
Shade helps too. Pergolas and awnings can make a big difference, especially during the hottest part of the day. Good airflow also helps keep the deck surface more comfortable and dry.