
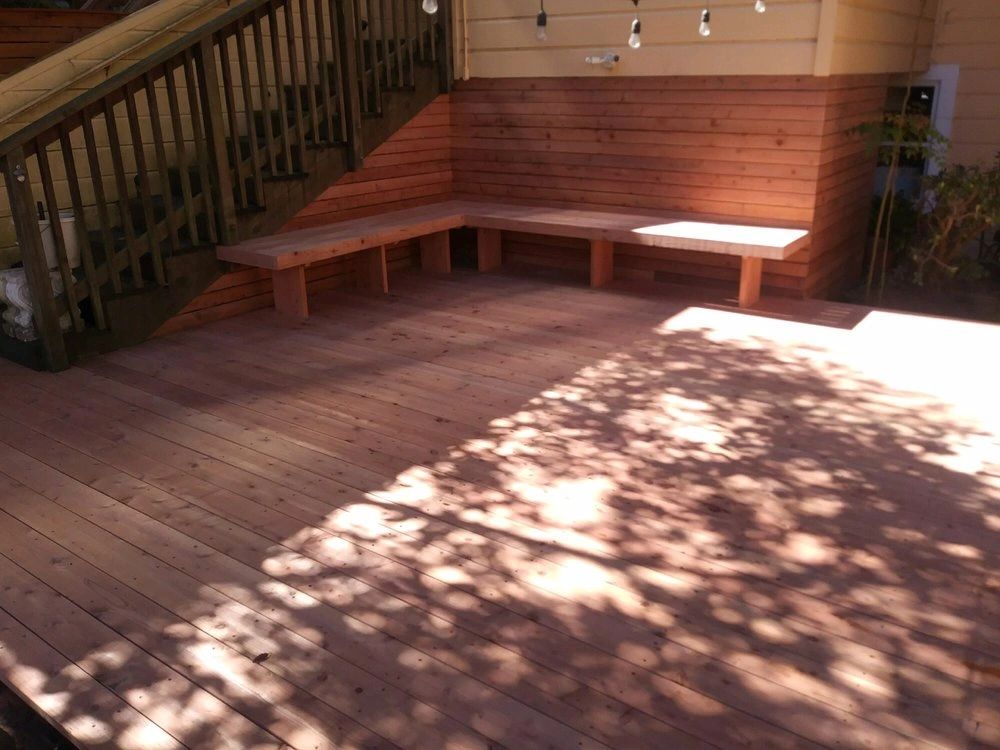
Want your deck summer-ready? Here's the plan: inspect, clean, repair, seal, and furnish. Coastal climates like the Peninsula can be tough on decks, with salt air, moisture, and UV rays causing damage. Regular maintenance ensures safety, longevity, and a great space for gatherings.
Key Steps:
- Inspect for Damage: Look for rot, loose fasteners, and structural issues.
- Clean Thoroughly: Use a power washer and deck cleaner to remove mildew and salt buildup.
- Repair and Secure: Replace damaged boards, tighten fasteners, and stabilize railings.
- Seal or Stain: Choose products based on your climate for UV and moisture protection.
- Furnish Smartly: Opt for durable, weather-resistant furniture and add shade or lighting.
Pro Tip: Use water-based sealants in foggy areas and oil-based ones for sunnier spots. Regular upkeep - like sweeping and checking for wear - keeps your deck in top shape all summer long.
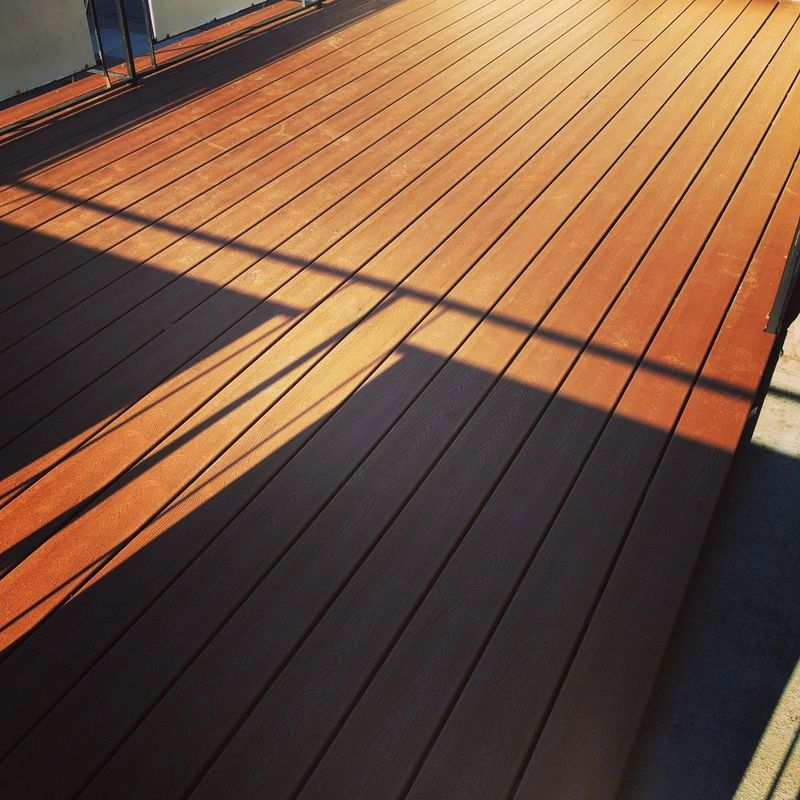
Step 1: Inspect Your Deck for Damage and Safety Issues
Before diving into repairs or upgrades, take time for a detailed inspection. Spotting issues early can save you from costly fixes that range between $800 and $3,500. Use the guide below to create a complete inspection checklist.
Building an Inspection Checklist
Start by carefully walking across each deck board. Watch for any unexpected flexing or movement underfoot. Signs like splintering, cracking, or a spongy texture are warnings - a spongy feel often points to rot. To confirm, try the pick test: press a screwdriver into any damp or discolored wood. If it sinks more than 0.125 inches, that section likely needs replacing.
"If you can sink a screwdriver more than an eighth of an inch into the surface, you've probably got rot." - Angie Hicks, Ask Angi
Next, inspect the hardware and structural components. Look for nails or screws that stick out from the surface, and check metal connectors for rust or bending. If your deck is near the coast, salt air can speed up corrosion. Pay close attention to the ledger board, which attaches the deck to your home, and the metal flashing above it. Water stains below the flashing or any visible gaps between the ledger board and your house could mean serious moisture issues that need immediate attention.
Here’s a handy checklist to guide your inspection:
| Inspection Area | What to Look For | How to Check |
|---|---|---|
| Deck boards | Rot, mold, splinters, spongy texture | Screwdriver probe; visual check |
| Railings | Wobbling, rust, improper baluster spacing | Push test; tape measure |
| Fasteners & brackets | Rust, popped nails, loose screws | Visual check; hammer |
| Ledger board & flashing | Water stains, separation, holes | Visual check |
| Substructure & footings | Spongy posts, loose concrete footings | Screwdriver probe; light shake test |
| Stairs & stringers | Squeaking, warped treads, loose attachment | Physical weight test; visual check |
Take your time with this process - it’s better to catch small issues now than face major problems later.
Don’t forget to test your railings and guardrails. For example, California requires railings to be at least 42 inches high, with balusters spaced less than 4 inches apart for child safety. If your railings don’t meet these standards, prioritize fixing them before hosting any gatherings.
Handling Immediate Safety Concerns
If you discover serious damage, such as a broken joist, rotted post, or wobbly railing, block off the area right away. Use caution tape or temporary barriers to keep everyone safe. For weakened beams or joists, place a temporary support post underneath before removing or replacing the damaged section. This keeps the structure stable while you work on repairs. If the damage seems widespread - like multiple rotting boards or significant substructure issues - consider hiring a professional for an inspection. These inspections typically cost between $25 and $200, and they can provide valuable guidance before you start repairs.
Step 2: Clean and Prepare the Deck Surface
Once you’ve inspected your deck, it's time to clean it thoroughly. This step is crucial for ensuring that protective treatments adhere properly and last longer. For homeowners in coastal areas like the Peninsula, two major culprits - salt residue and mildew - can wreak havoc on your deck if not addressed.
Sweeping and Clearing Debris
Begin by sweeping the deck with a stiff-bristled broom, making sure to follow the wood grain. This technique helps lift dust and grit from the tiny grooves in the wood rather than pushing it deeper. Next, use a flathead screwdriver to clear out any dirt, leaves, or other debris stuck in the gaps between boards. These spaces are vital for proper drainage and airflow. If they’re clogged, moisture can get trapped, leading to mildew growth - an especially common issue in humid, coastal climates.
Once you’ve cleared the surface and gaps, you’re ready to move on to a deeper clean.
Power Washing for a Deep Clean
Salt buildup and mildew left behind by coastal air need more than just a sweep - they require a deep clean. The best cleaning agents for this task are oxygen bleach or oxalic acid-based deck cleaners, which effectively break down mildew and salt without harming the wood fibers. Mix the cleaner with water in a 1:1 ratio, apply it with a pump sprayer, and let it sit for 10–15 minutes. Afterward, scrub the deck with a soft-bristled brush.
If you opt to use a pressure washer, handle it carefully. Softwoods like cedar or pine can be damaged if the pressure is too high. Stick to a range of 1,200–1,400 PSI and use a 25-degree (green) or 40-degree (white) nozzle tip. Maintain a distance of 12–18 inches from the surface, and always move the nozzle along the grain using overlapping passes.
"I don't like a power washer because a lot of people use them and they're too powerful. They actually damage the wood fiber." - Tom Silva, General Contractor, This Old House
Avoid chlorine bleach at all costs. As Jill Harness from Angi warns:
"Never use chlorine bleach or products that contain it to clean your deck. It damages the wood at a cellular level, even though you may not see immediate signs of harm."
Once cleaned, allow the deck to dry for 24–48 hours. After drying, lightly sand the surface with 80- to 120-grit sandpaper. This step removes any lingering gray wood cells and preps the surface for even absorption of sealants.
For extra protection against algae and rot - common in damp coastal environments - consider treating the deck with a borate solution (mix 5 parts water to 1 part borate) after cleaning. With a spotless and dry deck, you’re all set for repairs and protective treatments in the next phase.
Step 3: Repair and Maintain Deck Components
After cleaning and prepping your deck, it’s time to tackle any structural concerns. With everything clean and dry, it’s easier to spot issues that need fixing to keep your deck safe and ready for summer.
Repairing or Replacing Damaged Boards
Look for boards with signs of trouble - like a spongy texture, splintering, deep cracks, or discoloration. These often point to rot or other damage. A quick test? If a board absorbs water immediately, it’s likely compromised.
Not all damaged boards need to be replaced. For surface-level issues like scratches or stains, Bob Tschudi, a licensed general contractor, offers this advice:
"If your board is in good shape, it might be a matter of removing it and flipping it over and reinstalling it."
For minor rot or knotholes, use an exterior-grade epoxy wood filler mixed with sawdust to match the wood’s color. If the damage is more severe, go ahead and replace the board. When replacing, ensure the new board spans at least two joists for proper support. To avoid splitting, pre-drill holes before driving screws, especially near the ends of the board.
Costs for replacement boards vary depending on the material. Pressure-treated lumber typically costs $8–$20 per square foot, while composite boards range from $12–$45 per square foot.
Once the boards are repaired or replaced, turn your attention to the fasteners holding everything together.
Securing Nails and Fasteners
If nails have popped out, replace them with 3-inch No. 8 exterior wood screws that are slightly longer than the original nails. This ensures they grip into fresh wood for a stronger hold. Wood naturally expands and contracts with temperature changes, which can loosen nails over time.
"We always specify that decking boards be installed with screws. With changing weather, boards will expand and contract, and nails will wiggle loose, causing dangerous and unsightly nail pops." - Bob Tschudi, Licensed General Contractor
Check all visible fasteners, including joist hangers, for rust or corrosion. Coastal areas, with their salty air, can accelerate metal deterioration. If a joist hanger is corroded, replace both the hanger and its nails. When driving in new screws, use your drill-driver’s torque setting to avoid snapping screw heads.
Checking and Strengthening Railings
Once the boards and fasteners are secure, inspect the railings. Push and pull on each section to check for any movement. A wobbly railing is not just an annoyance - it’s a safety hazard, especially for kids or elderly visitors.
For loose railing posts, replace inadequate nails or screws with two 5/16-inch or 3/8-inch through-bolts per post, adding washers on both ends. This upgrade brings the connection in line with safety codes. If the railing is unstable where it meets the joist, reinforce it with 2x2-inch wood blocks or metal brackets, secured with structural screws.
In cases where rot has affected the base of a post, remove the railing, fill the damaged area with epoxy putty, and reinstall it with fresh hardware. If you’re unsure about the structural integrity of a post or its footing, it’s wise to consult a professional before summer kicks off.
Step 4: Apply a Protective Sealant or Stain
With deck repairs done, it’s time to protect your hard work. A good sealant or stain is essential for shielding your deck from coastal challenges like salt air, humidity, and intense summer sun. The right treatment can help your deck stand up to these elements and last much longer.
Choosing the Right Sealant or Stain for the Peninsula Climate
Deciding between a sealant, stain, or a combination product depends on your deck's exposure to UV rays and moisture. Sealants focus on keeping water out, while stains add color and provide better UV protection. Living in a coastal area makes this decision even more important.
| Treatment Type | UV Protection | Moisture Resistance | Maintenance Interval |
|---|---|---|---|
| Clear Sealant | Low | High | 1–2 years |
| Semi-Transparent Stain | High | Moderate | 3–4 years |
| Solid/Opaque Stain | Very High | Moderate/High | 5+ years |
| 2-in-1 Stain & Sealer | Moderate | Moderate | 2–3 years |
| Marine Grade Sealer | Low | Very High | 1–2 years |
For decks near the water, marine-grade sealers (around $44.98 per container) are a smart choice. These are designed to resist salt, mold, and algae growth. If your deck gets a lot of direct sunlight, consider a semi-transparent or solid stain (approximately $34.99 per container) for better UV protection.
As Bob Vila explains:
"While a combined 2-in-1 stain-and-sealant can be convenient, applying stain is still better for UV protection, while applying sealant is better for moisture-resistance."
If you’re looking for a balanced option, a 2-in-1 waterproofing stain and sealer (about $43.98 per container) is a cost-effective choice. It can cover up to 300 square feet per gallon, which is nearly double the coverage of standard products.
How to Apply Sealant or Stain Correctly
Before applying any treatment, perform a simple water test. Pour a small amount of water on the deck. If it beads up, the wood isn’t ready yet - it may still be wet or have an old sealant layer. If the water absorbs quickly, you’re good to go.
Plan to apply the treatment on two rain-free days with temperatures between 50°F and 90°F. Avoid working under direct midday sun for the best results.
Follow these steps to ensure success:
- Sand the Surface: Use 60- to 150-grit sandpaper to sand along the wood grain. This removes old finishes, opens up the wood pores, and eliminates the "mill glaze" on new wood, which can repel sealants.
- Protect Surrounding Areas: Cover nearby plants and siding with plastic sheeting and painter’s tape to avoid accidental splashes.
- Apply the Treatment: Start at the farthest corner and work your way out. Stir the product (don’t shake it) and apply thin, even coats. Over-applying can lead to uneven drying and a tacky finish that attracts dirt.
- Let It Cure: Give the deck 48 hours to fully cure before walking on it or placing furniture back.
Lastly, remember to wear a respirator mask while applying the treatment. Many sealants and stains release fumes that can be harmful if inhaled.
Step 5: Set Up Your Deck for Summer Comfort and Use
With the sealant or stain fully cured, it’s time to transform your deck into a cozy and inviting space. The right furniture and small but thoughtful additions can make a world of difference, especially in areas with coastal conditions like the Peninsula.
Furniture Selection and Placement Tips
Outdoor furniture needs to handle the challenges of salt air and strong coastal winds. One of the best options for this environment is HDPE poly lumber, a material known for its durability in harsh conditions. Here’s what you can expect to pay for popular pieces:
- Adirondack chairs: $189 to $319
- Chaise lounges: Around $609
- 3-piece dining sets: About $1,259
Make sure any furniture hardware is secured with marine-grade fasteners to avoid rust stains on your newly sealed deck.
If you want a natural wood option, Grade-A teak is another excellent choice. Its natural oils make it resistant to moisture and insects. Over time, untreated teak develops a silvery-gray patina, which doesn’t affect its durability - just its look.
When arranging your furniture, think about airflow. Proper placement can help keep the space comfortable, even on humid, still afternoons. Once your seating is set up, you can focus on creating shade and adding decorative elements for a polished finish.
Adding Shade and Decorative Touches
Shade and decor are the final touches that can elevate your deck into a relaxing retreat. Start with a quality patio umbrella for instant relief from the sun. To keep it in good shape, clean the canopy monthly by brushing off debris and washing it with a solution of 1/4 cup mild detergent per gallon of warm water. Let it soak for 15 minutes, rinse thoroughly, and air-dry to prevent mildew.
For evening use, combine ambient string lights with motion-sensor lights on the stairs to create a welcoming vibe while ensuring safety after dark. Add potted plants for a touch of greenery, but choose ones that can be easily moved indoors during storms. For cushions, go with solution-dyed acrylic fabrics like Sunbrella, which are designed to resist UV rays, water, and mold - essential features for coastal living.
With these thoughtful additions, your deck will be ready for summer gatherings, lazy afternoons, and everything in between.
Keeping Your Deck in Good Shape All Summer
Once your deck is prepped and protected, keeping up with regular maintenance throughout the summer is key to ensuring it lasts. This is especially true in coastal areas like the Peninsula, where constant exposure to sun and moisture can wear down wood faster than in drier regions.
Regular Cleaning and Debris Removal
A simple weekly sweep can go a long way in maintaining your deck. Always sweep along the wood grain to remove dirt and debris trapped between the boards. Wet leaves, in particular, can trap moisture, leading to rot and stains if left unchecked.
It’s also a good idea to keep a screwdriver or hammer handy for quick fixes, like securing any nails or screws that may have popped up.
If you notice mold or mildew - often an issue in shaded areas - address it right away. Use a specialized deck cleaner or an oxygen bleach solution to treat the spots. Let the cleaner sit for a few minutes, then scrub the area with a deck brush.
By staying on top of these cleaning practices, you’ll be better equipped to handle moisture-related problems before they escalate.
Watching for Moisture and Wear
In addition to cleaning, keep an eye out for signs of moisture and general wear. A quick way to test your deck’s sealant is the water test: pour a small amount of water on the surface. If the water beads up, the sealant is still doing its job. If it soaks in, it’s time to reapply the protective finish. As Harness explains:
"Wood is especially good at soaking up water, which can render deck sealing products useless."
After rainfall, check for areas where water pools instead of draining. Standing water can weaken the deck’s structure over time. Also, inspect for early signs of splitting, warping, or minor surface cracks. Catching these issues early can save you from having to replace entire boards later on.
Conclusion: Get Your Deck Ready for a Safe and Enjoyable Summer
Getting your deck summer-ready involves five key steps: inspect, clean, repair, seal, and furnish. Skipping even one of these can throw off the entire process, so it’s worth taking the time to do each step thoroughly.
If you’re tackling this as a DIY project, expect to spend between $80 and $250 on materials, which works out to about $0.25 to $1 per square foot. This small cost can save you from the much higher expense of replacing damaged boards or structural elements later on. Timing is also crucial. Aim for a stretch of dry weather with temperatures between 50 and 90°F, and allow the sealant 48 hours to fully cure before adding furniture or heavy use.
Jill Harness, a Contributing Writer at Angi, offers this reminder:
"Walking on a deck too soon can prevent it from properly curing and cause your deck to weather prematurely."
For homeowners in the Peninsula region, the coastal climate presents unique challenges. Extra moisture and intense UV exposure can take a toll on your deck. Prepping your deck seasonally and keeping up with summer maintenance can help combat these elements. With a little effort, you can ensure your deck stays safe, sturdy, and welcoming all summer long.
FAQs
How do I know if my deck damage is DIY or needs a pro?
Deciding whether to tackle repairs yourself or call in a professional largely depends on the extent of the damage. For minor fixes - like tightening loose nails, patching small cracks, or applying sealant - DIY is often a practical choice, especially if you have basic tools on hand. However, when it comes to structural issues - such as damaged joists or ledger boards - or repairs that could cost anywhere from $750 to $2,500, it's usually safer to bring in an expert. These more complex problems require specialized skills to ensure the repair is done correctly and safely. Always evaluate the severity of the issue before making your decision.
What’s the best way to remove salt and mildew without harming the wood?
To tackle mildew on your deck, start by scrubbing the affected areas using a cleaner designed for mold or a simple vinegar solution for smaller problems. Once scrubbed, rinse the deck thoroughly with water. If you're dealing with salt deposits, rinse the surface with fresh water and clean it using a mild soap solution. Be cautious and avoid using harsh chemicals, as they can harm the wood. After cleaning, make sure to rinse everything well and apply a mold-resistant sealant. This extra step helps protect your deck from future mildew growth.
How do I choose a sealant or stain for Peninsula coastal weather?
To pick the best sealant or stain for the Peninsula's coastal weather, focus on products built to handle UV rays, moisture, and salt exposure - key challenges in marine climates. Apply the product when the deck's surface temperature is between 50°F and 90°F, steering clear of extreme conditions or rainy days. Opt for options specifically made for coastal durability to safeguard your deck and extend its lifespan.