
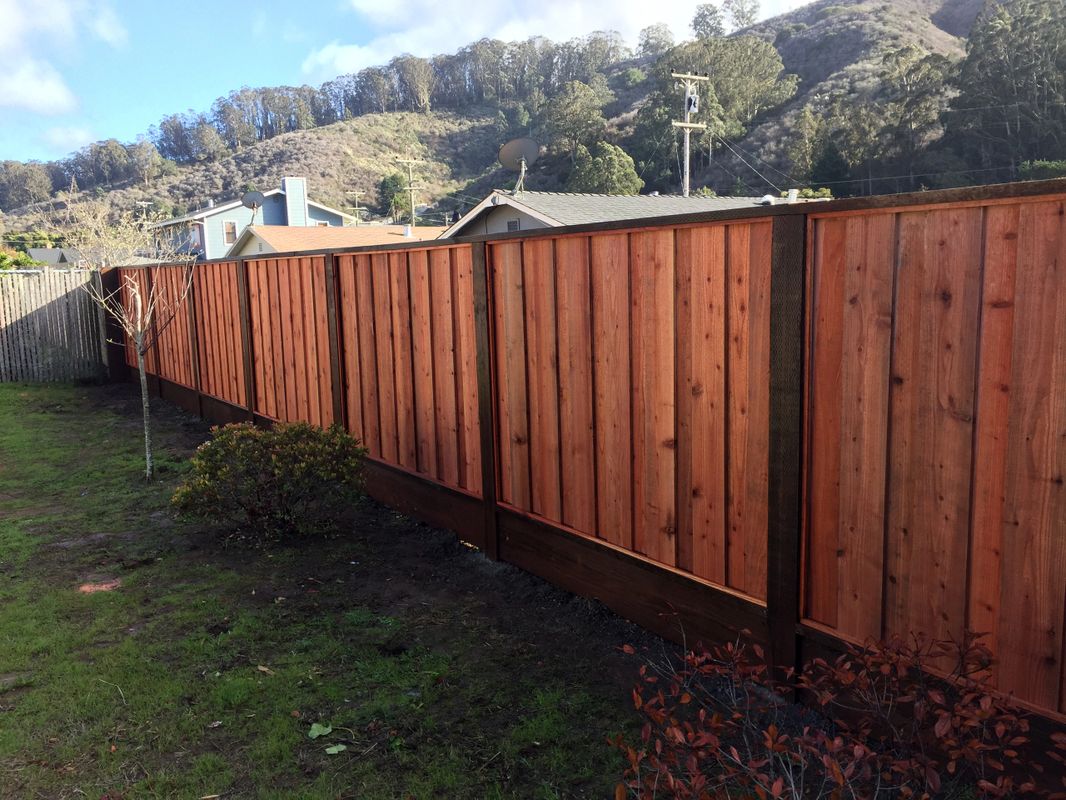
Looking to install a wood fence in South San Francisco? Here’s what you need to know:
- Cost Overview: Installing a wood fence costs between $1,848 and $4,706, with an average of $3,277. Expect $22–$36 per linear foot, depending on materials and design.
- Material Options:
- Pressure-Treated Pine: Budget-friendly ($1–$3/linear foot), but high maintenance.
- Cedar: Mid-range ($2–$4/linear foot), naturally resists insects and decay.
- Redwood: Premium choice ($8–$12/linear foot), long-lasting with minimal upkeep.
- Labor Costs: Professional installation typically ranges from $10–$29 per linear foot.
- Permits: Required for fences over 3 feet in front yards or 6 feet in backyards. Fees range from $100–$490.
South San Francisco’s damp climate and clay-heavy soil demand rot-resistant materials (like redwood or cedar) and proper installation techniques to ensure durability. Regular maintenance, including sealing and inspections, can extend your fence’s lifespan and protect your investment.
For reliable, long-lasting results, working with experienced professionals like A-1 Fence Company is a smart choice. They combine skilled craftsmanship with deep knowledge of local challenges to deliver fences that stand the test of time.
Types of Wood Materials for Fences
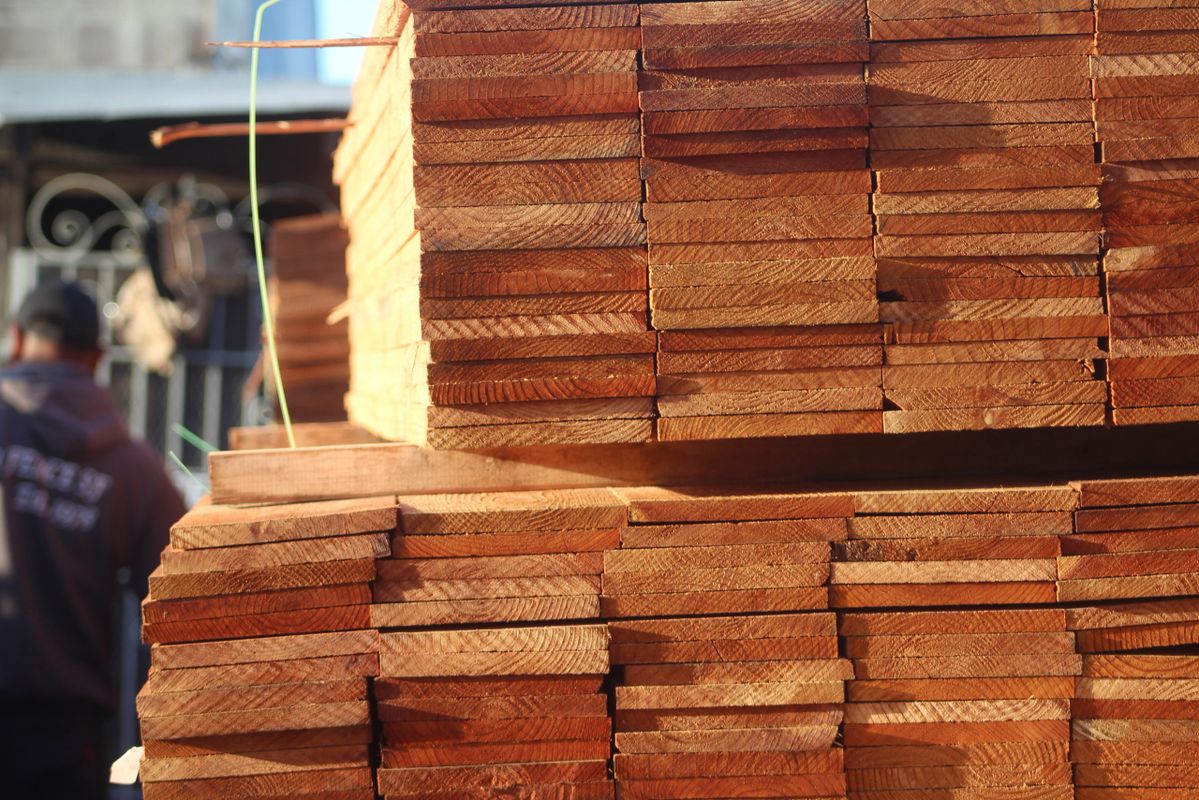
When it comes to building a fence in South San Francisco, you need to think about durability, appearance, and budget. With the area's fog, moisture, and rainfall, the wood must handle constant dampness without rotting or warping. Let’s break down the three most common wood options and see how they compare.
Pressure-Treated Pine
Pressure-treated pine is the most budget-friendly choice, costing about $1 to $3 per linear foot. Its strength lies in the chemical preservatives that deeply penetrate the wood, forming a shield against rot and insects. This makes it a practical option for fence posts, especially in South San Francisco’s damp soil where wood is most vulnerable.
But there’s a tradeoff - pine requires frequent maintenance. If you don’t seal it every few years, it can warp, twist, or crack due to changing moisture levels. Its greenish or yellowish tint from the treatment also means most homeowners opt to paint or stain it for a more polished look. Expect it to last about 10 to 15 years, though diligent upkeep can extend its life to 20 to 25 years.
For a step up in durability and natural beauty, consider Western Red Cedar.
Cedar
Western Red Cedar offers a balance of cost and performance. Priced at $2 to $4 per linear foot, it’s pricier than pine but still affordable compared to redwood. Cedar naturally repels insects, including termites, and resists decay without needing chemical treatments.
Its natural oils help it handle coastal air and humidity, giving it a lifespan of 15 to 30 years. Cedar starts with warm, light tones that weather into a silvery-gray patina unless sealed. To maintain its color and strength, plan to stain or seal it every 2–3 years.
If you’re looking for the best in durability and visual appeal, redwood is the top-tier option.
Redwood
Redwood is the premium choice for fences in Northern California. Locally sourced, it’s perfectly suited to the region’s cool, wet climate. Thanks to its natural tannins, redwood resists rot, termites, and warping - even in foggy or rainy conditions. It’s denser and stronger than cedar, making it better at handling temperature and moisture changes.
"Redwood is our top choice for best overall wood fence material. It offers an unbeatable combination of durability, availability and aesthetic value that easily makes up for its elevated price." - Patrick Shea, Editor in Chief, Resi Report
The cost? Around $8 to $12 per linear foot. While expensive, it’s a long-term investment, lasting 20 to 40 years with minimal upkeep. Its rich reddish-brown color is a standout feature, though it will fade to brown or gray unless you use a UV-protective sealer. With resealing required only every 4 to 5 years, redwood is also the easiest to maintain over time.
| Feature | Pressure-Treated Pine | Cedar | Redwood |
|---|---|---|---|
| Material Cost (per LF) | $1–$3 | $2–$4 | $8–$12 |
| Lifespan | 10–15 years | 15–30 years | 20–40 years |
| Maintenance | High (frequent sealing) | Moderate (every 2–3 years) | Low (every 4–5 years) |
| Natural Rot Resistance | Low (chemical-based) | High | Very High |
| Best Use in SSF | Budget projects / Posts | Standard residential | Premium / High-visibility |
If you want your fence to last even longer, consider pairing cedar or redwood boards with galvanized steel posts. This combination eliminates ground rot, the most common issue for wood fences in South San Francisco’s damp environment.
Wood Fence Installation Costs
Once you've decided on your wood type, it's time to break down the costs. In South San Francisco, the average wood fence project costs about $3,277, with most homeowners spending between $1,848 and $4,706. This range includes materials, labor, and installation, but other factors could influence the final price.
Material Costs per Linear Foot
The cost of materials depends heavily on the type of wood and the fence design. For a privacy fence (4 to 6 feet tall), the total installed cost in the San Francisco area typically falls between $22 and $36 per linear foot. If you opt for redwood or tropical hardwoods, expect to add $10 or more per linear foot to the base price.
| Wood Type | Installed Cost (Materials + Labor) | Best For |
|---|---|---|
| Pressure-Treated Pine | $15–$25 per LF | Budget-friendly projects |
| Cedar Privacy | $20–$35 per LF | Standard residential fences |
| Redwood | $25–$40 per LF | High-end, durable installations |
The style of the fence also plays a role in the price. For example, picket fences can range from $10 to $74 per linear foot, depending on the design, while a split-rail fence costs between $10 and $29 per linear foot. Adding a lattice topper will add an extra $2 to $12 per linear foot.
Labor and Installation Costs
Professional installation costs in South San Francisco typically range from $10 to $29 per linear foot for labor alone. Some contractors may charge hourly rates, which average $25 to $59 per hour. For a standard 100 to 200-foot fence, a professional crew usually completes the job in one to three days.
Fence height significantly affects labor costs. Fences taller than 6 feet often cost 20% to 30% more because of the additional materials and the challenges of working at height. Additionally, tough soil conditions - like rocky ground - can increase costs by $5 to $15 per linear foot, as specialized equipment may be required. Don't forget that San Francisco's 8.63% sales tax applies to both materials and labor.
Additional Costs: Gates, Permits, and Site Preparation
Besides the fence itself, several extra expenses can impact your budget:
- Gates: A standard 4-foot-wide walk gate costs between $200 and $590, while a double drive gate ranges from $400 to $1,200. For an automatic opener, expect to pay an additional $1,500 to $4,000.
- Permits: In San Francisco, permits are required for fences taller than 3 feet in front yards or 6 feet in backyards. Permit fees range from $100 to $490, and failing to obtain one could lead to fines or mandatory removal.
- Site Preparation: This includes removing an old fence ($3 to $7 per linear foot, or $290 to $740 total), grading sloped yards ($980 to $3,160), and tree removal ($200 to $1,960 per tree). Additionally, before digging, call 811 (DigSafe) at least 48 hours in advance to mark underground utilities. Accidentally hitting a gas or water line could cost over $1,000 to fix.
Lastly, don't overlook finishing costs. Professional staining and sealing, which protect the wood from weather damage, typically cost between $740 and $4,170 in San Francisco. This step is especially important for woods like cedar and redwood to ensure long-term durability.
The Installation Process: Step by Step
Building a fence involves several phases, each with specific tasks and timelines. The duration of the installation depends on factors like soil conditions and the amount of preparation required.
Planning and Preparation
Start by contacting the SF Planning Department to confirm zoning laws and height restrictions. Permits are mandatory for fences exceeding 3 feet in front yards or 6 feet in backyards, with permit fees generally ranging from $100 to $490. Ensure your fence stays within your property boundaries by consulting a survey or hiring a land surveyor. Before digging, call 811 at least 48 hours in advance to have underground utility lines marked. Once that’s done, clear the area of rocks, plants, and debris. Use stakes and string to outline the fence line, marking post locations approximately every 6 to 8 feet.
With the permits in hand and the site ready, you can move on to setting the posts.
Setting Posts and Framing
For stability, bury each post about one-third of its total length. For instance, a 6-foot fence requires 2-foot-deep holes. Dig holes 12 inches wide - around three times the width of a standard 4x4 post. Add a 4- to 6-inch gravel layer at the bottom of each hole for drainage, then secure the posts with fast-setting concrete. Slope the concrete tops to direct water away from the wood. Allow the concrete to set for 24 to 48 hours before attaching any rails or panels. Use a post level during this process to ensure the posts are perfectly vertical.
Once the posts are secure, you can begin installing the fence panels.
Panel Installation and Finishing
Attach horizontal rails (also called stringers) to form the framework of the fence. Professionals stagger rail joints to avoid aligning them on the same post, which strengthens the structure. Stainless steel screws are used for attaching rails to posts due to their superior holding power, while hot-dipped galvanized nails are preferred for pickets to prevent rust streaks.
"Screws are superior for structural connections, such as attaching the rails to the posts.
After the panels are in place, focus on finishing. If you’re using pressure-treated wood, wait 4 to 6 weeks before staining or sealing to allow the wood to dry completely. A simple water test can help determine readiness: sprinkle water on the surface - if it beads up, the wood is still too wet; if it absorbs, it’s ready for finishing. Professional staining and sealing typically cost between $1 and $3 per square foot. Adding post caps at the end helps protect the exposed wood grain from water damage, which can lead to internal rot.
Local Challenges and Maintenance Requirements
Weather and Soil Conditions
South San Francisco's coastal climate brings some tough conditions for wood fences. The mix of saltwater spray, coastal fog, and high humidity speeds up wood decay. As Fencing San Mateo explains:
"The combination of saltwater and high humidity can accelerate corrosion, leading to premature deterioration of traditional fencing materials".
Northern California's wet winters also contribute to ongoing moisture issues, which can encourage rot, mold, and fungal growth. Add to that the strong coastal winds, and you’ve got another factor that can cause fences to lean or even collapse.
The soil in the region doesn’t make things easier. Clay soil, which is common in the area, holds onto moisture and becomes compacted. This causes it to expand and contract with weather changes, which can shift posts and weaken the fence's foundation over time. On the other hand, sandy soil in some coastal areas doesn’t offer much support, leading to structural instability.
To tackle these issues, certain adjustments during installation can help. For clay soil, use concrete footings to stabilize the posts, and in sandy soil, add a gravel layer at the base to improve drainage. To protect the area where posts meet damp soil, combine wood fence boards with galvanized or powder-coated steel posts, which are more resistant to corrosion. If you’re using redwood, opt for "all-heartwood" boards, as they naturally resist termites and moisture due to their tannin content. Lastly, always use stainless steel fasteners in coastal areas to avoid rust stains from salt air. These steps are crucial for ensuring your fence holds up against the elements.
Maintenance for Long-Lasting Fences
With these environmental and soil challenges, regular upkeep is a must to keep your fence in good shape. Annual maintenance is key to extending its lifespan. Inspect your fence once a year and after heavy storms to catch issues like chips, cracks, rot, or insect damage early. Clean the surface with a mild detergent and water to remove salt deposits, dirt, and mildew, which can trap moisture and accelerate decay. For tougher stains, use a soft brush - avoid wire brushes, as they can damage the wood.
To protect the wood, apply a UV-protective sealant at recommended intervals. This not only prevents moisture absorption but also helps maintain the fence's color. Keep bushes and trees trimmed back from the fence to improve airflow and reduce trapped moisture, which can lead to mildew growth. By staying on top of these maintenance tasks, you can significantly extend the life of your fence.
Why Choose A-1 Fence Company for Your Wood Fence Installation
If you're considering wood fence installation in South San Francisco, A-1 Fence Company brings nearly 50 years of experience to the table. This family-owned business has been a trusted name in the Bay Area since 1978. With an A+ rating from the Better Business Bureau and recognition as a Nextdoor "Neighborhood Favorite" for three straight years (2022, 2023, and 2024), their reputation speaks for itself. As a licensed fence contractor, A-1 Fence Company ensures every installation is built to last and meets high structural standards - qualities their customers consistently praise.
Take, for example, Patty Dowling, who hired A-1 Fence Company in July 2023 because of their verified licensing and expertise. She shared:
"The work is so structurally sound, I am sure it will last for many years; plus, aesthetically, it makes my whole back yard look like a different place!"
Beyond craftsmanship, A-1 Fence Company is known for its efficiency and excellent communication. In the same month, Christina Salani noted how, despite their busy schedule, the team completed her entire fence replacement in just one day once her project date was set. Owner Matt personally oversees all projects, ensuring accessibility and attention to detail. Roberto Luna highlighted this, saying:
"Matt (the owner) was very focused and easily reachable to discuss our concerns & needs along with the best design for us".
A-1 Fence Company offers more than just fences - they handle custom wood designs, gates, arbors, and retaining walls for both residential and commercial properties. Customers frequently commend their thorough cleanup and careful handling of surrounding property. With a perfect 5/5 rating on HomeProsVerified and strong referrals, A-1 Fence Company consistently delivers the quality and craftsmanship South San Francisco homeowners expect.
Conclusion
Putting up a wood fence in South San Francisco takes more than just picking a style - it requires thoughtful choices about materials, careful budgeting, and skilled installation. Whether you go with Redwood, Cedar, or pressure-treated pine, your decision should balance your financial plan with how much upkeep you're willing to handle. While selecting materials and setting a budget are important, professional installation is key to ensuring your fence can handle local conditions.
To avoid unexpected issues, it’s important to plan your budget, obtain the necessary permits, and work with experienced installers who understand the area's requirements. In South San Francisco, building codes typically cap front yard fences at around 3.5–4 feet and backyard fences at 6 feet. Rachel Hoffman from Angi highlights the importance of professional installation:
"An improperly installed fence can be prone to rot and other damage and may not last as long as a professionally installed fence."
Key installation practices - such as using deep concrete footings, rust-resistant galvanized fasteners, and securely anchoring posts in clay-heavy soil - are essential for building a fence that can endure the area’s fog, moisture, and wet soil conditions.
This guide has walked through the crucial steps for a successful wood fence project: choosing the right materials for durability, budgeting for everything from permits to site prep, navigating the installation process, and addressing the local climate and soil challenges. By combining high-quality materials with expert craftsmanship, you can enhance your outdoor space and potentially see up to a 50% return on investment. A well-built fence not only boosts your property’s appeal but also stands strong for years to come.
FAQs
Which wood is best for SSF fog and moisture?
Redwood is a great match for South San Francisco's foggy and damp weather. Its natural resistance to rot and moisture, combined with excellent dimensional stability, makes it a dependable option. Plus, it handles the area's wet and dry cycles with ease, ensuring long-lasting durability.
How can I estimate my total fence cost?
To figure out your total fence cost, you'll need to look at the price per linear foot for both materials and labor. Key factors like the fence style, type of wood, and how complex the project is will also play a role. In South San Francisco, the cost usually falls between $22 and $36 per linear foot, depending on the type of wood and the height of the fence. For the most precise estimate, it's a good idea to reach out to local fencing contractors and provide details such as the length of the fence, the style you want, and any specific site conditions.
What maintenance schedule should I plan for?
Taking care of your wood fence is key to keeping it looking good and lasting longer. Here’s how you can do it:
- Clean it once or twice a year: This helps get rid of dirt, mold, and mildew that can build up over time.
- Stain or seal every 2–3 years: This protects the wood from moisture, rot, and damage from the sun’s UV rays.
- Inspect for issues annually: Check for loose boards or any signs of damage, and fix them as soon as possible.
With consistent upkeep, your fence will stay sturdy and attractive for years to come.